Easter On The Water

I was watching the weather for the last few days, just hoping today would hold out with being as great of a day as they called for.  I even went by the storage building and loaded my kayak on the car in the pouring rain yesterday afternoon to be ready to go early this morning.

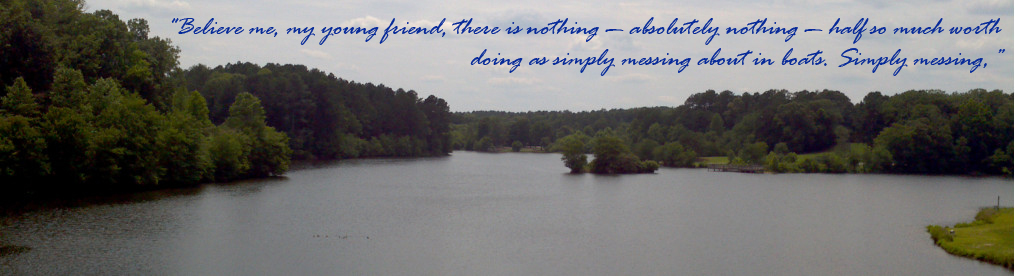
After my last outing, I can tell you that I was super ready for a GOOD day on the water… And I GOT IT! About the only thing I could have asked for was less wind. I launched from Don Carter State Park, and headed north in the lake (technically, it’s the Chattahoochee River at this point north) and paddled north against the current and into the wind for a little over 2 miles.  There was a “Creek” I spotted on an outing last year that I wanted to go explore.  This “Creek” took me almost a mile back into a valley, surrounded by pines and tall hills on either side.  I went until I ran unto a swamp and took a snack break. I then spent the next hour or so fishing my way back down the creek to the main channel.

I was actually throwing casts pretty dang good with that bait caster (Thanks to hours of practice, standing in a field with a washer tied on the line!).  I got a few hits off a red, split tailed rubber worm, but nothing would take it.  I decided since I was in slightly muddy, slow, fairly shallow water, they might be using to crawfish.  So, I switched to a pumpkin seed colored Yum Brand, Craw (I think it’s from the “Critter” series).  That brought me in 3 nice little bass.  Nothing worth keeping, but still, a catch is a catch.

I also managed to land a few small crappie in the back of one of the coves I usually fish in.

The trip back was much easier with the wind and current both at my back.  all in all, I did just over 6 miles.

SDC10426 (Medium) SDC10420 (Medium) SDC10414 (Medium) SDC10407 (Medium) SDC10405 (Medium) SDC10402 (Medium) SDC10399 (Medium)(Click Images for Full Sized)

First Outing of the Year

Well, the water was still really cold, but I braved it to get out on the first Saturday we’ve had with temps in the 60’s.  The neoprene “Socks” I bought worked great.  No, they don’t keep your feet dry.  Like in a wet suit, it uses the water as an insulator to keep you warm.  Made a new friend today as a fellow kayak fisherman pulled up while I was gearing up my boat.  But, we had no luck.  Not even a nibble and we covered over 8 miles of the lake.  The water was way too muddy from storms Thursday night.  Heck, he didn’t even get a hit on the live Trouts he was using as Striper bait.

Oh well, I was just happy to be back out on the water.

20140222111030151 (Custom) SDC10357 (Custom)SDC10351 (Custom)SDC10352 (Custom)SDC10353 (Custom)SDC10358 (Custom) SDC10360 (Custom) SDC10361 (Custom) SDC10368 (Custom) SDC10367 (Custom) SDC10366 (Custom) SDC10362 (Custom) SDC10363 (Custom)

Rod Holder Modification

image

So, as I mentioned last, I needed to relocate my built in rod holder. As you can see in the top left image, Pelican decided to put it way down at our feet (past the feet for shorter people). I couldn’t even touch it with my fingertips.

My solution presented itself with the use of some leftover pvc pipe and fittings. I did have to shave down the end of the pipe to fit it in the hole. But, I made no changes to the rod holder or the on board mount.

I picked up some Krylon Fusion paint for plastic to make it look better. And, while I was at it, I painted my PVC kayak cart and my paddle blades (they were black).

Yak Improvements…

image

Ok, 2 of the 3 problems I have with my Yak are the low seat back and lack of access to the internal space in the stern…  I fixed those today. (The 3rd is that the forward swivel rod holder is too far forward…  I’ll fix that next.)
As you can see from the top left picture there are 2 flat areas that could support a hatch; behind the seat and behind the well.
The higher priced version of mine comes with a 4″ hatch behind the seat. But, there is more room than that. I picked up a couple of 6″ hatches at Academy Sports for $12 each.

I also needed to remove the plastic seat back for the stock seat. It was held on by 2 rivets I would have to cut off from inside, so I started with the space behind the seat. I’m glad I did. Once I got the hole cut, I found there is a large styrofoam block that runs all the way to the stern. So, there is no need for a hatch on the stern as the space is filled and unusable back there.

Cutting the hole wasn’t easy. I traced the circle, went around it drilling 3/8th” holes, then cut it out with a keyhole saw. I then spent 30 min with a rasp trying to smooth and round out the hole. A bead of Silicon around the base before bolting it in was the easy part.

I also had to deal with the holes for the rivets I removed to get the seat back off. I decided to use 2 of the extra #8 bolts, with washers on both sides (coated with silicone), and a lock washer inside.

The new seat fits like a glove, has a 20″ high back, and a storage pouch on the back. Much better on my bad back than the stock seat that only came up 10!